Water Damage Restoration: Mold Risks and Prevention Tips

Imagine this: A strong storm blows through your neighborhood, heavy rain flooding your basement and soaking your carpets. You call in a water damage restoration company, but what you might not realize is the unseen threat lurking in the shadows: mold. In this article, we’ll explore mold risks and prevention tips, ensuring you’re equipped to protect your home from both water damage and mold growth.

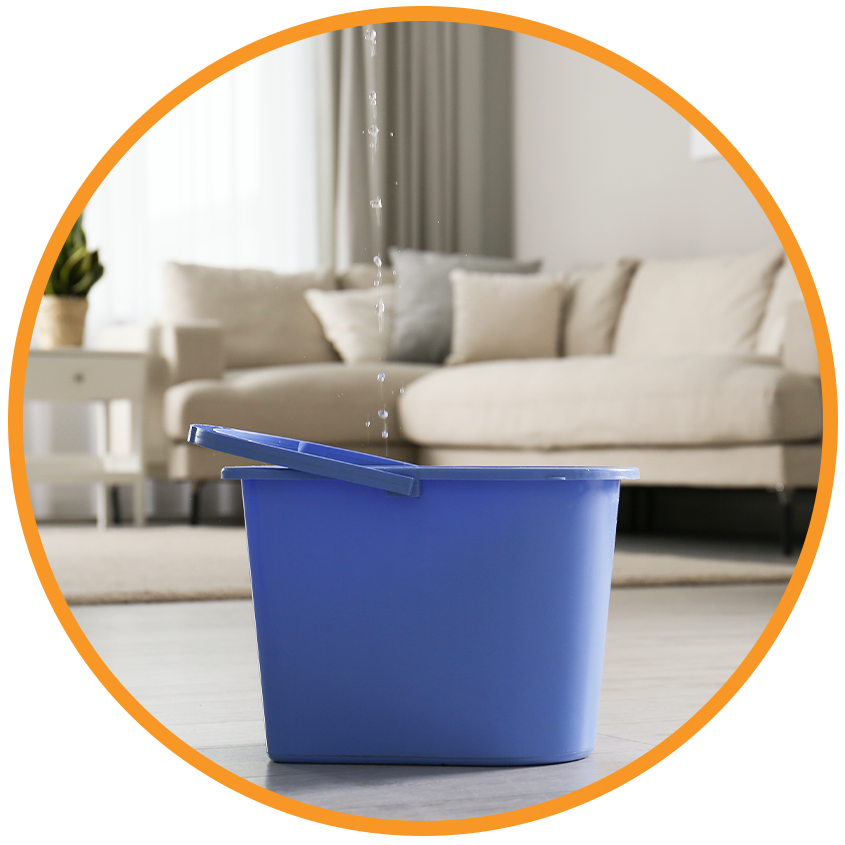
Water damage is often more than just a nuisance; if not addressed properly, it can lead to mold growth, which poses health risks and damages your property. Awareness of mold risks during the restoration process is crucial for any homeowner, DIY enthusiast, or even industry professional. Taking early steps toward

musty smell

is essential after any flooding incident to avoid long-term consequences.

Understanding the Mold Risks

Mold is a type of fungus that thrives in moist, humid environments. It reproduces through spores that can easily become airborne, causing allergic reactions and other health issues when inhaled. When water damage occurs, it’s essential to act quickly because mold can start to grow within 24 to 48 hours. Understanding these mold risks gives you the upper hand in preventing problems down the line.

For instance, let’s take the story of Sarah, a homeowner who experienced significant flooding after a pipe burst. After the water was removed, Sarah thought everything was fine. Weeks later, however, she began to notice a musty smell in her home. By the time she called a professional, mold had already taken hold behind her drywall, leading to costly repairs and health concerns.

Prevention: The Key to Keeping Mold at Bay

Now that we know the risks, let’s focus on preventing mold during the water damage restoration process. Remember, early intervention is your best defense. Here are some practical tips to ensure your home remains mold-free:

  1. Immediate Action: At the first sign of water damage, take action. Remove excess water using pumps and wet/dry vacuums. The quicker you act, the less chance mold has to establish itself.
  2. Dry Everything Thoroughly: Use fans and dehumidifiers to dry out the affected areas completely. Open windows and doors when possible to enhance ventilation. If you’re dealing with carpets, consider removing and drying them in the sun.
  3. Inspect for Hidden Moisture: Mold can grow in hidden areas like under floorboards or behind walls. Consider using a moisture meter to check for hidden dampness.
  4. Clean and Disinfect: Once the area is dry, clean and disinfect surfaces with a mixture of water and vinegar or specialized mold-cleaning products. While bleach is often used, it may not penetrate porous materials as deeply and can sometimes lead to further issues.
  5. Seal and Protect: Once your home is dry and clean, consider applying mold-resistant products. Sealant and paints can help provide extra protection against moisture.

When to Call a Professional

Sometimes, the situation may be more than you can handle. If you notice signs of mold, such as discoloration, an increase in allergies, or a persistent musty smell, it’s essential to call a professional. They have the tools and expertise to identify and remediate mold properly.

Common Misconceptions About Mold

Although many homeowners are aware of mold risks, there are still misconceptions that can lead to misunderstandings about mold prevention:

  • Not Just a Problem in Basements: While basements are more prone to mold, it can grow in any area where moisture collects. Bathrooms, kitchens, and attics can also be hot spots.
  • You Can’t Always See It: Mold can be hidden behind walls or under carpets. Just because you can’t see it doesn’t mean it’s not there. Regular inspections are key.
  • DIY Repairs May Not Be Enough: For significant water damage, merely drying out the space may not suffice. Professional remediation can ensure that mold does not come back.

Signs of Mold Growth: What to Watch For

Being proactive means knowing what to look for. Here are some signs that mold may be lurking in your home:

  • Musty Odors: A persistent musty smell can indicate mold presence, even if you can’t see it.
  • Visible Mold Spots: Discoloration on walls, ceilings, or floors suggests mold issues.
  • Increased Allergy Symptoms: If you notice an uptick in sneezing, coughing, or other allergy-related symptoms, it may be linked to mold.

A Quick Guide to Mold Prevention

To sum it up, here’s a handy checklist for mold prevention during water damage restoration:

  • Remove excess water immediately.
  • Ensure areas are dried thoroughly.
  • Inspect hidden spaces for moisture.
  • Clean and disinfect as needed.
  • Consider professional help when required.

Final Thoughts

In the end, whether you’re dealing with stubborn leaks, minor floods, or seasonal rains, stay ahead of potential problems. At 770 Water Damage & Restoration, we’re here to help you navigate these challenges, ensuring your home remains a safe and welcoming space. Remember, preventing mold is not just about cleaning up after the mess; it’s about taking ownership of your living environment. Keep your eyes open, your tools handy, and your knowledge up to date, and you’ll be equipped to handle whatever comes your way. Homeowners should not underestimate the importance of

mold prevention

following water-related emergencies.

Take Action Today

Whether you’re currently facing water damage or simply want to prepare for the future, take action today! Keep this guide in mind, share it with others, and most importantly, take pride in maintaining your home’s integrity. Together, we can keep mold at bay and make every space a healthier, happier environment.

FAQ 1: What should I do first if I have water damage? Ensure your safety by turning off electricity in the affected area and contact 770 Water Damage & Restoration immediately for emergency services.

FAQ 2: How can I tell if there’s mold in my home? Look for a musty smell, discoloration on surfaces, or visible mold spots. If you suspect mold, call 770 Water Damage & Restoration for an inspection and remediation.

FAQ 3: How quickly can mold grow after water damage? Mold can grow within 24 to 48 hours after water damage. Prompt action is essential; contact 770 Water Damage & Restoration right away to minimize risks.

FAQ 4: How can I prevent mold after restoration? Thoroughly dry and clean affected areas using dehumidifiers and fans. 770 Water Damage & Restoration provides effective drying and treatment to prevent mold growth.

FAQ 5: When should I hire professionals for water damage? Hire professionals if the damage is extensive, mold is present, or you feel overwhelmed. 770 Water Damage & Restoration has the expertise to restore your home safely. If you experience sudden

water damage

or damp odors, schedule an inspection as soon as possible.

Browse our portfolio and see what we can do for you.

Read More


Stop the Drip: Expert Water Damage Restoration for Dripping Wall Problems

Water damage is one of the most distressing issues a homeowner can face—especially when it shows up as unexpected wet streaks running down your walls. These telltale signs, known as dripping wall problems, are not only unsightly but can also point to deeper structural and environmental concerns like mold infestations, wood rot, and compromised insulation. But don’t panic. With the right information, you can take control. If left unaddressed,

mold growth

can lead to extensive structural deterioration over time.

Understanding Dripping Wall Problems: Causes and Consequences

What Are Dripping Wall Problems?

Dripping wall problems occur when water infiltrates your walls and causes moisture to become visible on the surface. This can result from:

  • Faulty plumbing: Leaky or burst pipes behind walls.
  • Roof leaks: Especially during or after heavy rainfall.
  • Poor insulation: Leading to condensation during temperature fluctuations.
  • Foundation cracks: Allowing groundwater to seep in.
  • Faulty HVAC systems: Causing humidity buildup indoors.

If not addressed promptly, these issues can evolve into expensive repairs and serious health risks due to mold and bacteria growth.

Why You Should Never Ignore the Signs

The appearance of water trails or damp spots can feel minor at first. But here’s what might follow:

  • Mold and mildew growth
  • Structural damage to drywall and wood framing
  • Increased utility bills from insulation degradation
  • Potential electrical hazards
  • Persistent odors and air quality issues


The Ultimate Restoration Process for Dripping Wall Problems

Step-by-Step Restoration Strategy

Addressing dripping wall problems requires a structured plan. Here’s a detailed walkthrough:

  1. Initial Inspection
    Examine the area carefully. Look for water stains, bubbled paint, soft drywall, or a musty smell. Take photos for insurance purposes.
  2. Pinpoint the Source
    Determine whether it’s a pipe leak, roof issue, condensation, or something else. If unsure, hire a water damage specialist to inspect using moisture meters or thermal imaging.
  3. Stop the Flow Immediately
    Shut off the water supply if it’s plumbing-related. Use tarps or sealants for roof leaks temporarily. The goal is to halt further damage.
  4. Remove Saturated Materials
    Take out any soaked insulation, drywall, wallpaper, or carpet that’s been affected. These materials can harbor mold and won’t dry properly.
  5. Dry Everything Thoroughly
    Use industrial fans, dehumidifiers, and open windows. Consider renting professional-grade drying equipment if the affected area is large.
  6. Clean and Disinfect
    Scrub all surfaces using an antimicrobial solution. This helps eliminate mold spores and other harmful microbes.
  7. Repair and Rebuild
    Replace drywall, repaint walls, install new insulation, and restore any removed fixtures. Ensure all repairs are mold-resistant.

Restoration Tip:

Even after repairs, keep an eye on the area for weeks to ensure there are no recurring signs of dripping wall problems. Ignoring early signs of

foundation crack

may result in mold infestations and air quality issues.

Common Homeowner Concerns About Water Damage Restoration

1. How Much Will This Cost?

The cost of addressing dripping wall problems varies:

  • Minor repairs: $200–$600
  • Moderate damage: $1,000–$2,500
  • Major restoration: $5,000 or more

Factors include the source, materials affected, and whether mold remediation is needed.

2. Is This Covered by Insurance?

It depends on your policy and the cause:

  • Covered: Sudden pipe bursts or storm damage
  • Not covered: Gradual leaks or poor maintenance

Always contact your insurer and review your homeowners policy for clarity.

3. How Long Does Restoration Take?

  • Light damage: 1–3 days
  • Moderate repairs: Up to a week
  • Severe situations: 2–3 weeks or longer

Drying and mold testing may add time to the overall process.

Should You DIY or Call the Pros?

DIY Water Damage Fixes

✅ Suitable for small areas
✅ Lower cost
✅ Empowering for handy homeowners

However, DIY fixes come with risks like:

  • Missed moisture (leading to mold)
  • Inadequate drying
  • Unprofessional repairs

When to Hire Professionals

  • Large-scale damage
  • Recurring leaks
  • Mold is already present
  • Insurance claim assistance needed

Professionals use tools like infrared sensors, air scrubbers, and commercial dryers to ensure a thorough restoration. Post-restoration care should always include routine

roof leaks

to ensure lasting results.

Prevention is Key: How to Keep Dripping Wall Problems Away

Stay Ahead with These Preventative Strategies

Implementing these habits can save you thousands:

  • Inspect Plumbing Annually: Look under sinks, behind toilets, and near appliances.
  • Maintain Gutters and Downspouts: Prevent overflow near your foundation.
  • Check Windows and Doors: Seal cracks and ensure proper flashing.
  • Insulate Walls: Prevent condensation in high-humidity areas.
  • Use a Humidistat: Keep indoor humidity below 60%.
  • Grade Your Yard Properly: Direct water away from your home’s perimeter.

Real-Life Story: Emma’s Water Damage Win

Emma, a homeowner in a storm-prone region, returned home after a heavy downpour to find her wall soaked. Her dripping wall problems stemmed from a tiny crack in her foundation.

Here’s how Emma tackled the issue:

  1. Identified the source with the help of a pro.
  2. Removed all water-damaged materials.
  3. Used commercial dryers and monitored humidity for 5 days.
  4. Sealed the foundation crack with epoxy.
  5. Installed French drains to divert future water.

Today, Emma enjoys a dry, mold-free living space—all because she acted fast and smart.

FAQs About Dripping Wall Problems

How can I detect dripping wall problems early?

Look for stains, warped paint, damp smells, or cold patches. Use moisture meters for hidden leaks.

Can dripping wall problems damage my foundation?

Yes. Persistent moisture can weaken foundation walls, especially in older homes.

What kind of mold grows behind dripping walls?

Common species include AspergillusPenicillium, and Stachybotrys (black mold), which can cause serious health issues.

How often should I check for wall moisture?

Do a quick inspection every 2–3 months, especially during rainy seasons.

Can I repaint over a water-damaged wall?

Only after it’s completely dry and treated. Otherwise, the moisture will resurface and damage the paint again.

Conclusion: Take Control Before the Damage Spreads

Dripping wall problems aren’t just cosmetic—they’re a flashing red warning sign of deeper water damage issues. By acting quickly, understanding the process, and choosing the right help, you can restore your walls and peace of mind.

Whether you take the DIY route or hire a professional, staying informed and proactive is the key to prevention and long-term home health.

Whether you’re a startup or a growing enterprise, we have solutions that fit your needs.

Read More